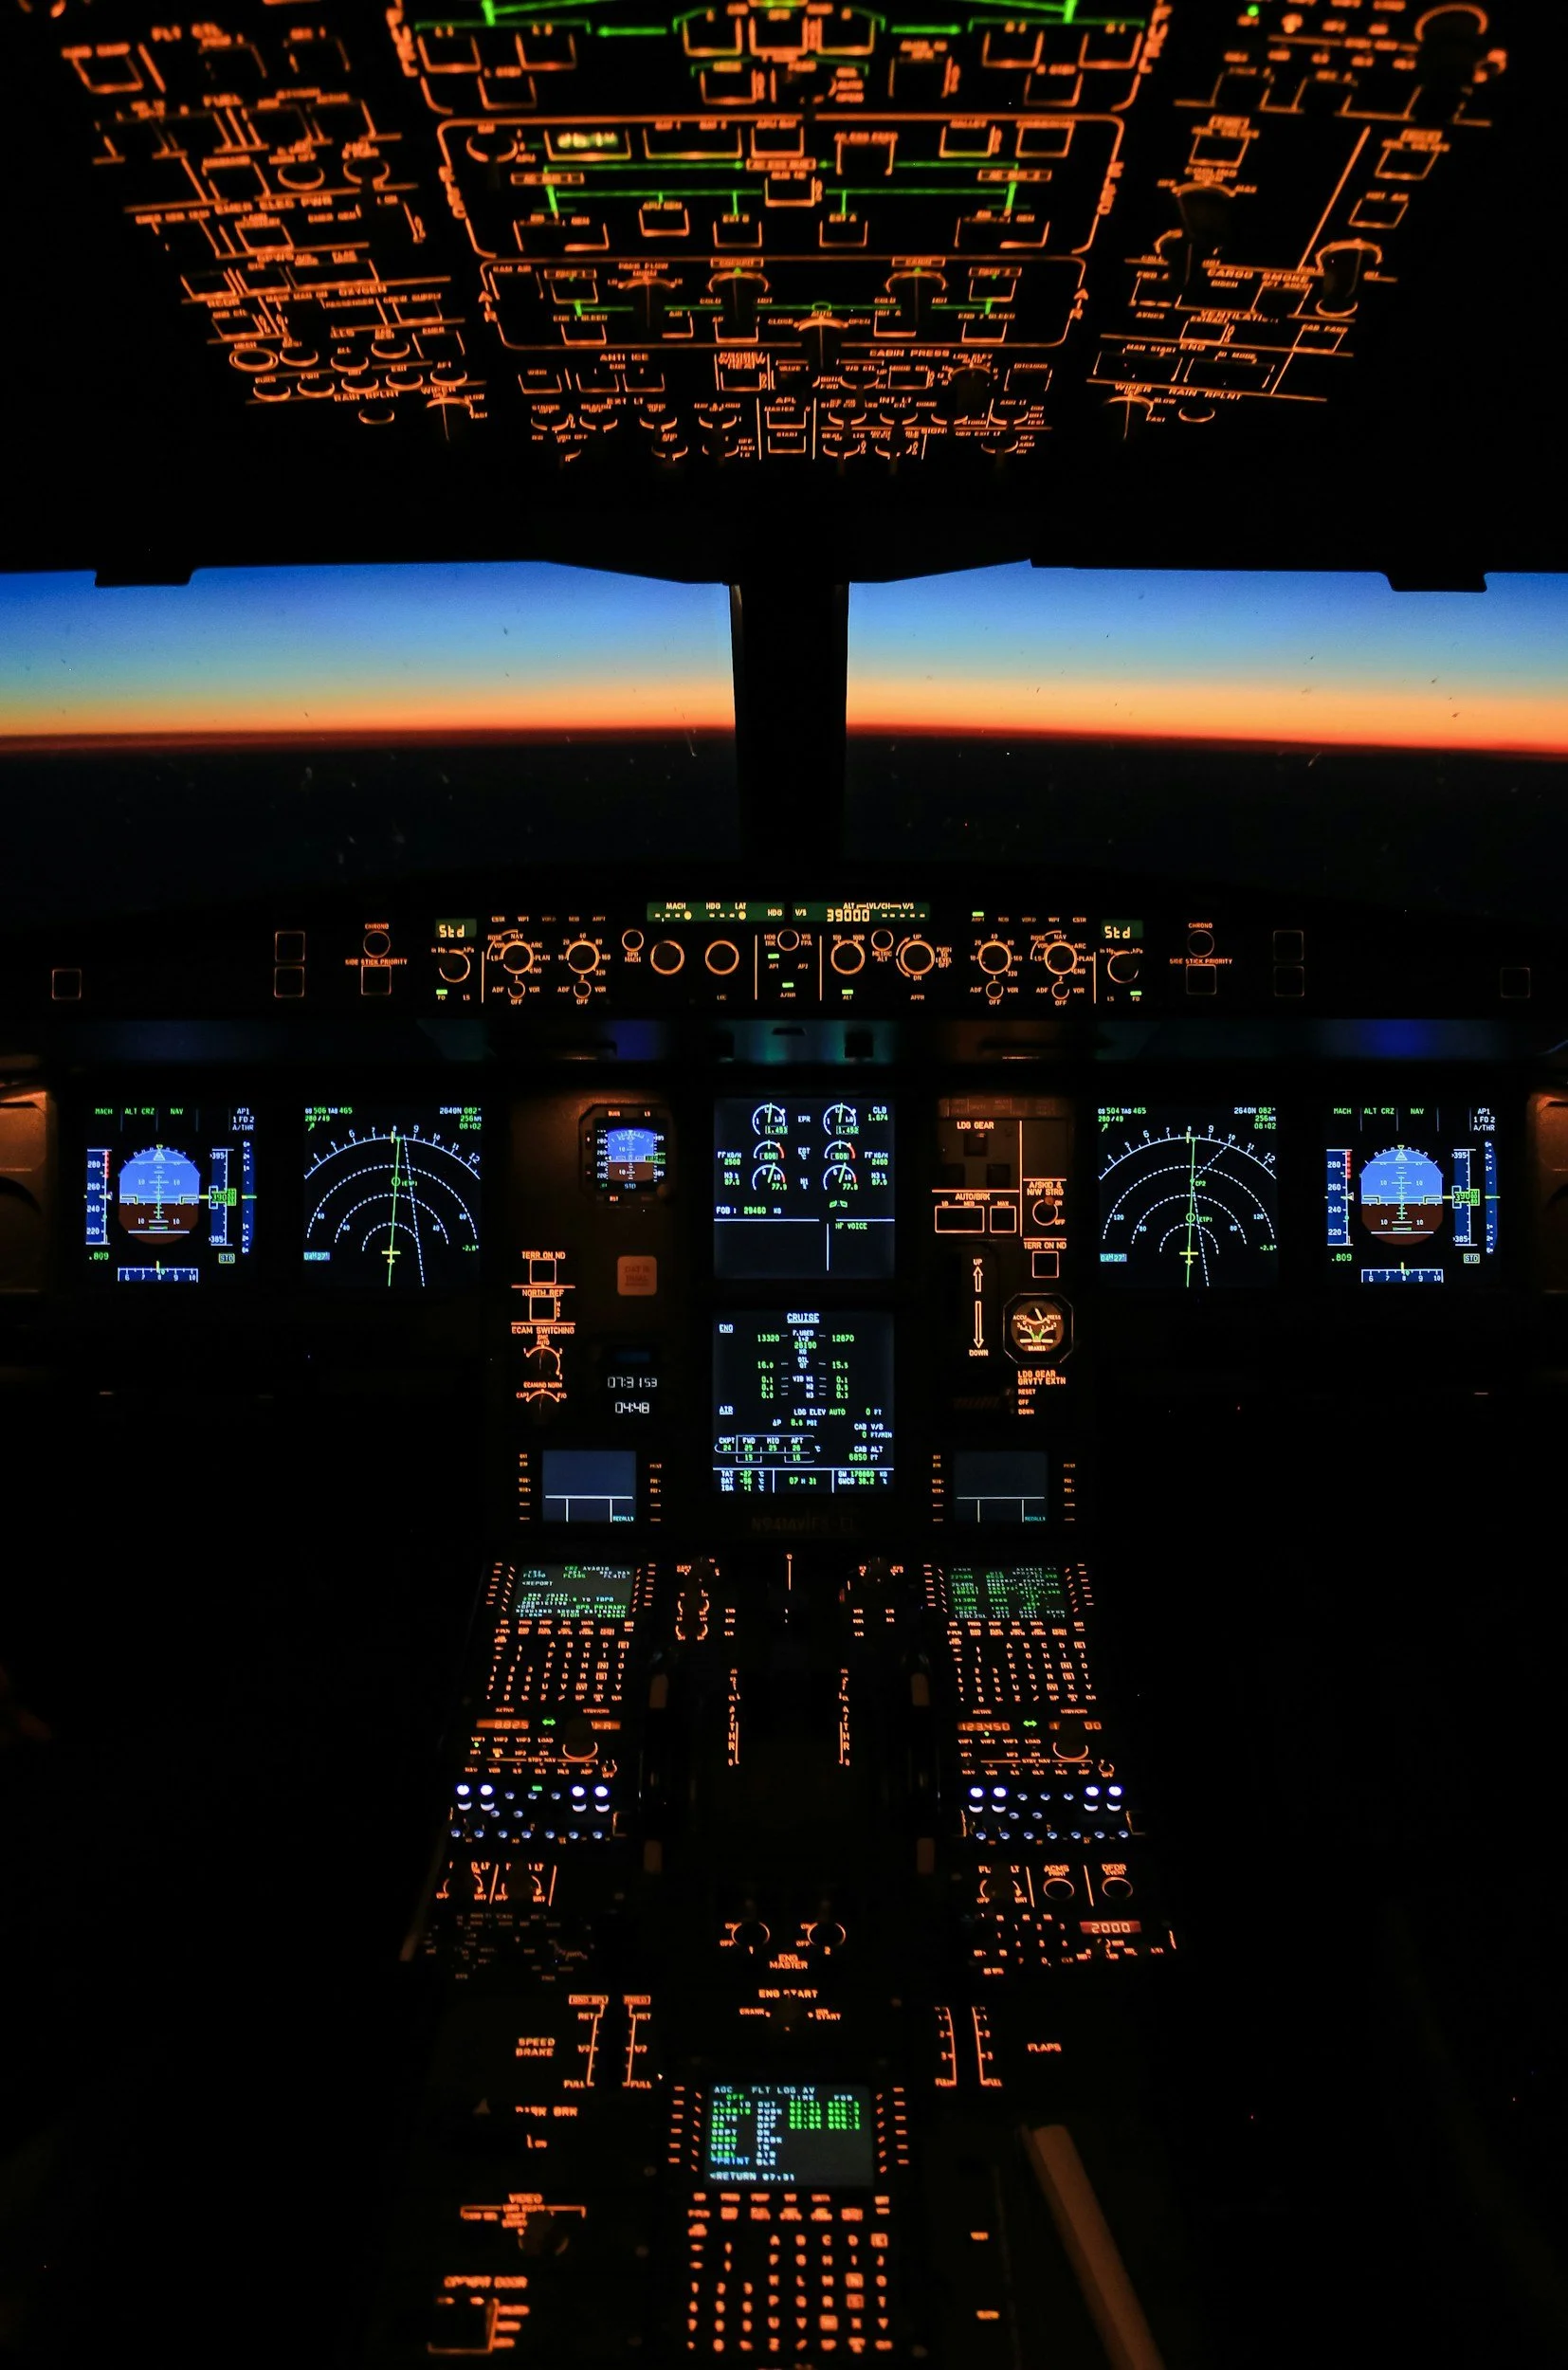
Instrument
Instrument Rating
Earning your instrument rating will take your piloting skills to an entirely new level.
Adding an instrument rating to your pilot certificate will permit you to fly into weather that would otherwise keep you grounded. You will learn how to fly by instruments only, as well as learn instrument approach procedures and departures. You will also develop a deeper level of understanding on weather and Air Traffic Control communications, aircraft control, and aeronautical decision making.
An instrument rating is recommended to all pilots willing to take their knowledge and skills to the next level as you will develop into a much safer and more capable pilot.
It is also a requirement for anyone wishing to pursue a career in aviation.
I train pilots under the FAA 14 CFR Part 61 program which allows you the flexibility to learn at a pace that fits your schedule.
Instrument Rating Requirements:
Log 50 hours of cross-country flight time as pilot in command
Log 40 hours of simulated IMC flight time
Log 15 hours of instrument flight instruction from an authorized instructor
Earning Your Instrument Rating
The Instrument Rating (IR) is an essential step for pilots who want to fly safely in poor weather or reduced visibility. With this certification, you learn to operate an aircraft using cockpit instruments rather than outside visual cues. Beyond being a legal requirement for certain flying conditions, the IR also builds confidence, precision, and overall safety.
1. Eligibility
To begin, you need a Private Pilot Certificate and the ability to read, write, speak, and understand English. You’ll also need at least a third-class FAA medical certificate.
2. Flight Experience
Before testing, you must log specific experience:
50 hours of cross-country flight as pilot in command, at least 10 of those in airplanes (for an instrument-airplane rating).
40 hours of instrument time, which can be actual or simulated.
Of that total, 15 hours must be instrument training with a certified instructor in the category of aircraft you’re pursuing the rating in.
3. Ground Instruction
Pilots complete ground training covering weather theory, air traffic control procedures, and the planning required for instrument flight. This can be done through a flight school program or with a qualified instructor.
4. IFR Flight Training
During training, you’ll log at least 40 hours of instrument flying, which includes holding patterns, navigation, and a variety of instrument approaches.
5. Required Cross-Country
One long IFR cross-country flight is required. It must cover at least 250 nautical miles, use ATC routing or airways, and include an instrument approach at each stop with three different types of approaches performed.
6. FAA Knowledge Exam
After the training, you’ll take the FAA’s Instrument Rating Written Exam, which tests the concepts you studied during ground school.
7. The Checkride
The final hurdle is the practical test (checkride). This consists of an oral examination and a flight test with an FAA examiner. You’ll need to show you can safely and competently operate under instrument conditions.
8. Staying Current
Once you earn the rating, you must stay proficient. Within the preceding six months, you need at least six instrument approaches, holding procedures, and course-tracking tasks to remain legal for IFR flying.
In summary:
Obtaining an Instrument Rating requires discipline and effort—both in the classroom and in the cockpit. The FAA sets these standards to ensure pilots are prepared to handle the complexities of instrument flight. With the rating, you not only expand your privileges but also strengthen your ability to manage challenging conditions safely and skillfully.


